Every setup guide in Help has one drawing per step. They look like technical illustrations because they start from the real 3D models.
From model to step
1 · The model
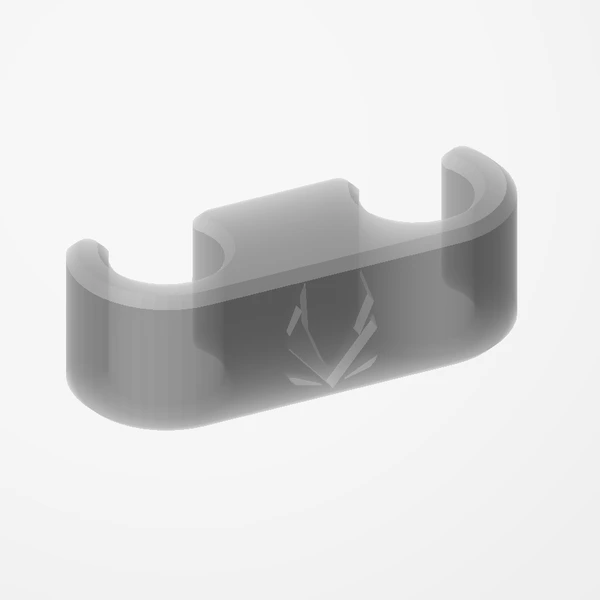
The same models we render for the product previews, set up for each step: a part sliding in, a fan dropping into its pocket.
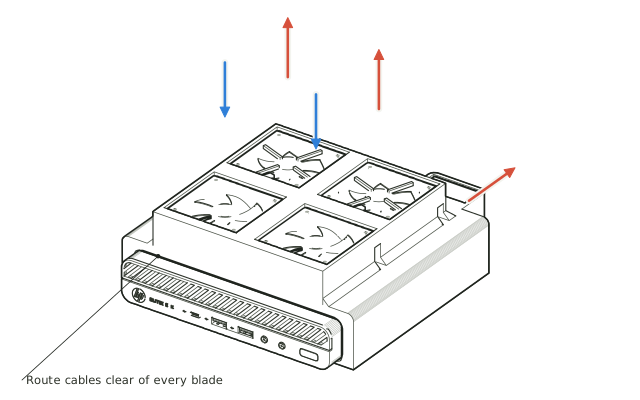
2 · The lines
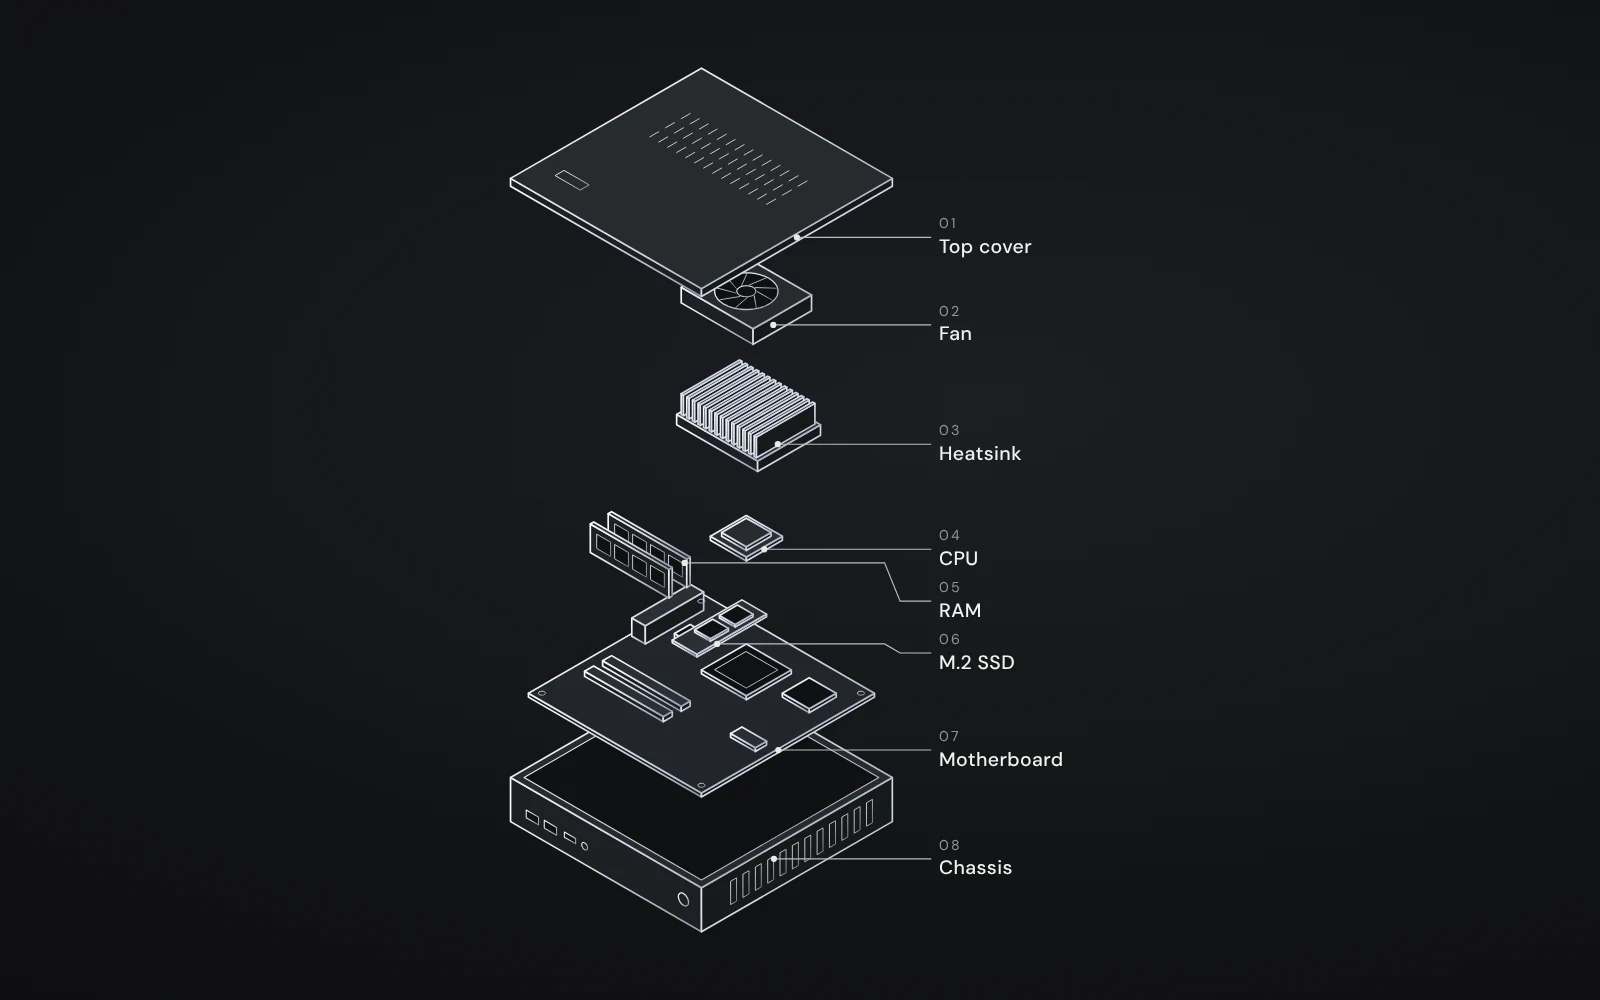
Instead of shading, the renderer keeps only the lines that describe the shape: outlines, creases and visible edges, with hidden ones removed.
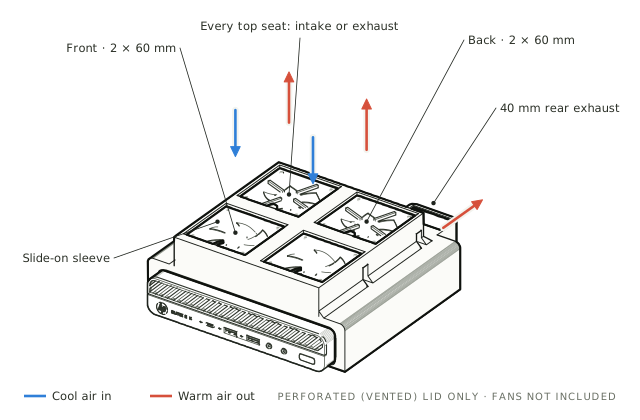
3 · The story
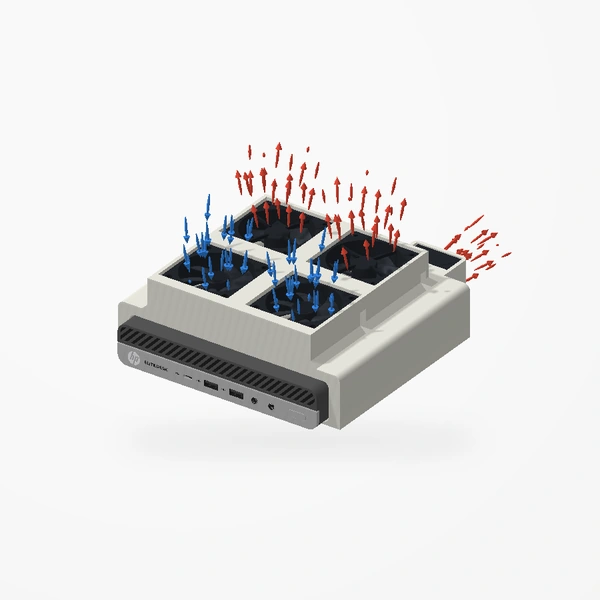
Then come arrows and labels: blue for air in, red for air out, and short callouts where a detail matters. The part being fitted is drawn darker.
Why lines?
A photograph shows everything at once. A drawing can leave out what does not matter and darken what does, so your eye goes straight to the step at hand. Because the lines come from the models, proportions, pockets and tabs stay true to the part.
What they are not
Every guide, every step.
Open the setup guides