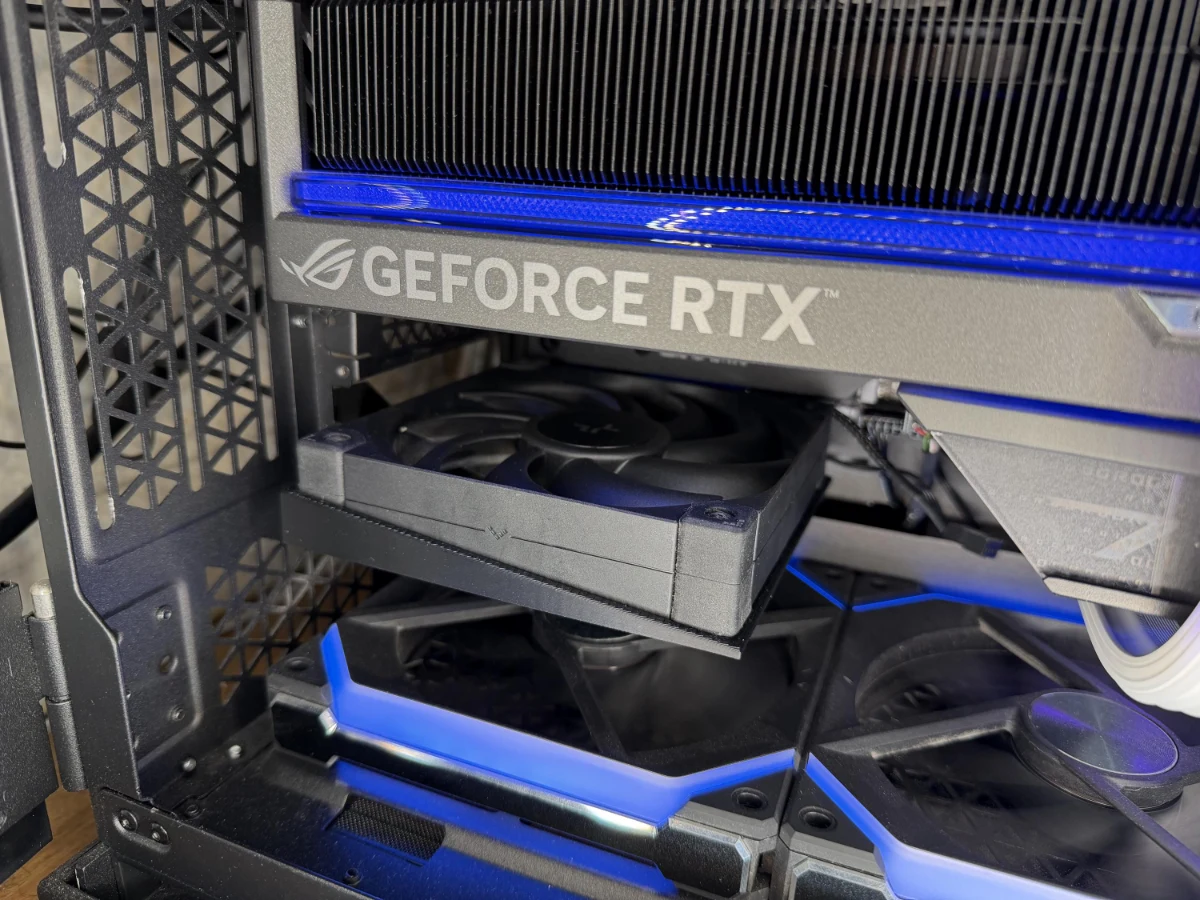
The biggest fan in the collection uses the fewest slots. That is the appeal of the 120 mm mount, and also the one thing worth measuring before you order.
At a glance
Four things to know
One position is not one slot of space
The bracket uses a single expansion-slot mounting position, but the fan it carries is far larger than one slot. Measure the fan’s thickness and the clearance for the whole assembly beneath the graphics card and around nearby cards and cables, and compare them with the listing dimensions.
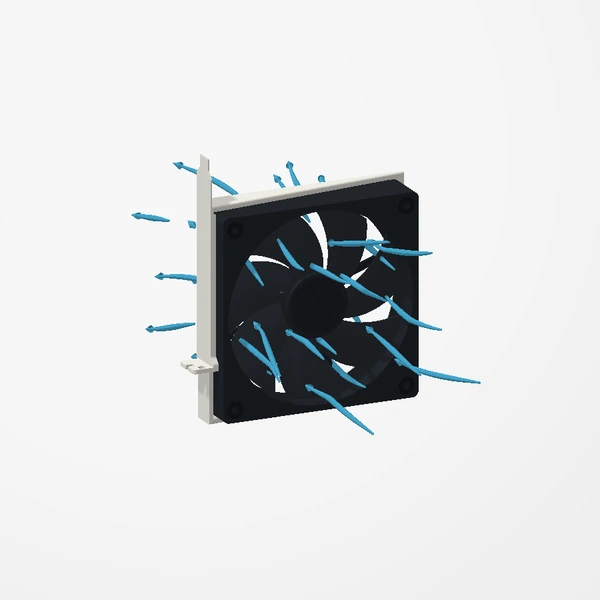
It works either way round
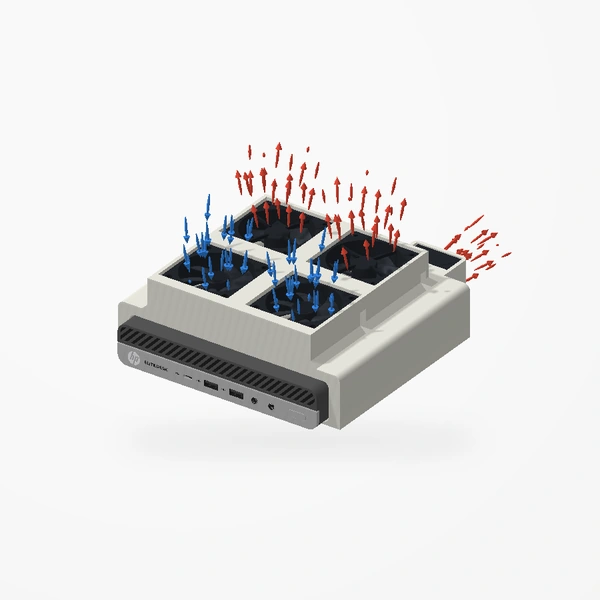
Decide whether the fan should blow toward the graphics card above it or pull air away from it. Most people exhaust warm air from behind the card. Which way should the air go? helps you choose.
The cable has its own path
Run the fan cable along the frame’s built-in channels so it stays out of the blades, then check the fan turns freely before you power on.
We have no test result for this size
Our documented results are for a 2 × 40 mm configuration (1.5°C lower GPU temperature) and a 1 × 60 mm configuration (3°C lower). They do not establish a result for the 120 mm mount, so we do not quote one.
Fitting it
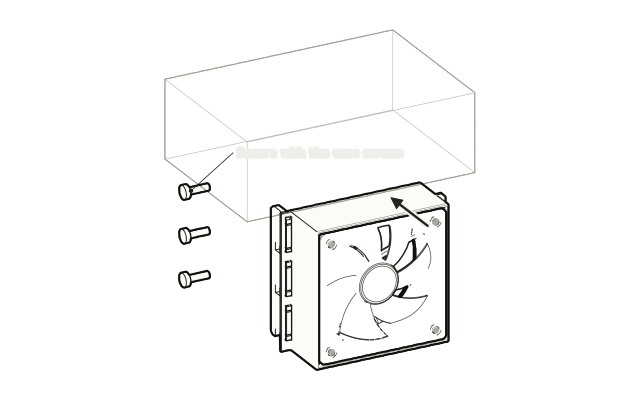
Fix a 120 × 120 × 25 mm fan to the frame through its four corner holes with the screws that came with the fan. With the PC shut down and unplugged, remove one slot cover below the graphics card and keep its thumbscrew.
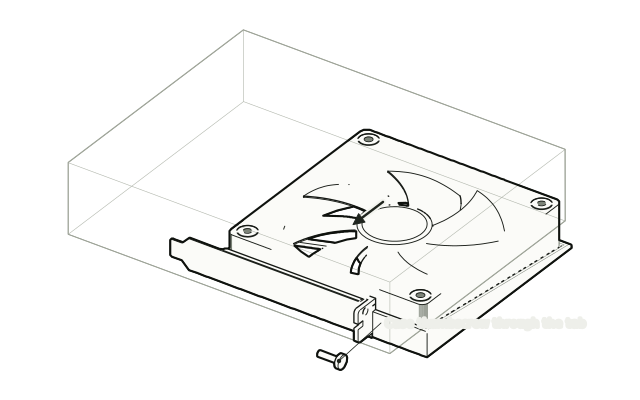
Slide the bracket into the free slot like an expansion card and secure it with that thumbscrew. No tools needed. Connect the fan to a fan header or hub, check it clears the graphics card, then power on. All six steps, drawn, are in the setup guide.
Watch the blades turn and the air move.
See the 120 mm mount